
Spring Boot 로 Rest 방식의 소셜 로그인을 만들어보자.
사전에 앞서, 이부분에서 오피셜 플로우가 있는지는 잘 모르겠다.
많이 알려진(?) 방법으로는 social 로그인 후 code 를 서버로 전송 해, 서버가 access token 을 받아, 클라이언트로 넘겨준다는 방식으로 많이 설명하는 것 같던데,
이렇게 되면 소셜 configration 정보를 서버와 클라이언트가 모두 가지고있어야 하는 불편함이 있어, 방법을 찾아보다가 이 방법이 개인적으로 가장 선호하는 방법이 되었다.
사전에 앞서, 기술스택은 다음과 같다.
- spring boot
- oauth2-auto-configure
- kakao
- vue (그냥 포스팅하면 밋밋해서 사용해봤다.)
진행 될 프로세스는 다음과 같다.
- 클라이언트는 소셜 로그인을 한다.
- 로그인 후 받은 토큰으로 서버에 인증요청을 한다.
- 서버는 받은 토큰으로, provider 인증서버로 사용자정보를 요청한다.
- 받아온 사용자 정보를 토대로, Security Context 로 등록하고 서버전용 토큰을 발급한다.
- 클라이언트는 provider 에서 발급받은 토큰으로 provider resource 를. 서버에서 발급받은 토큰으로, 서버 resource 를 요청한다.
이제 코딩을 시작하자.
먼저 스프링 부트 프로젝트를 생성한다.
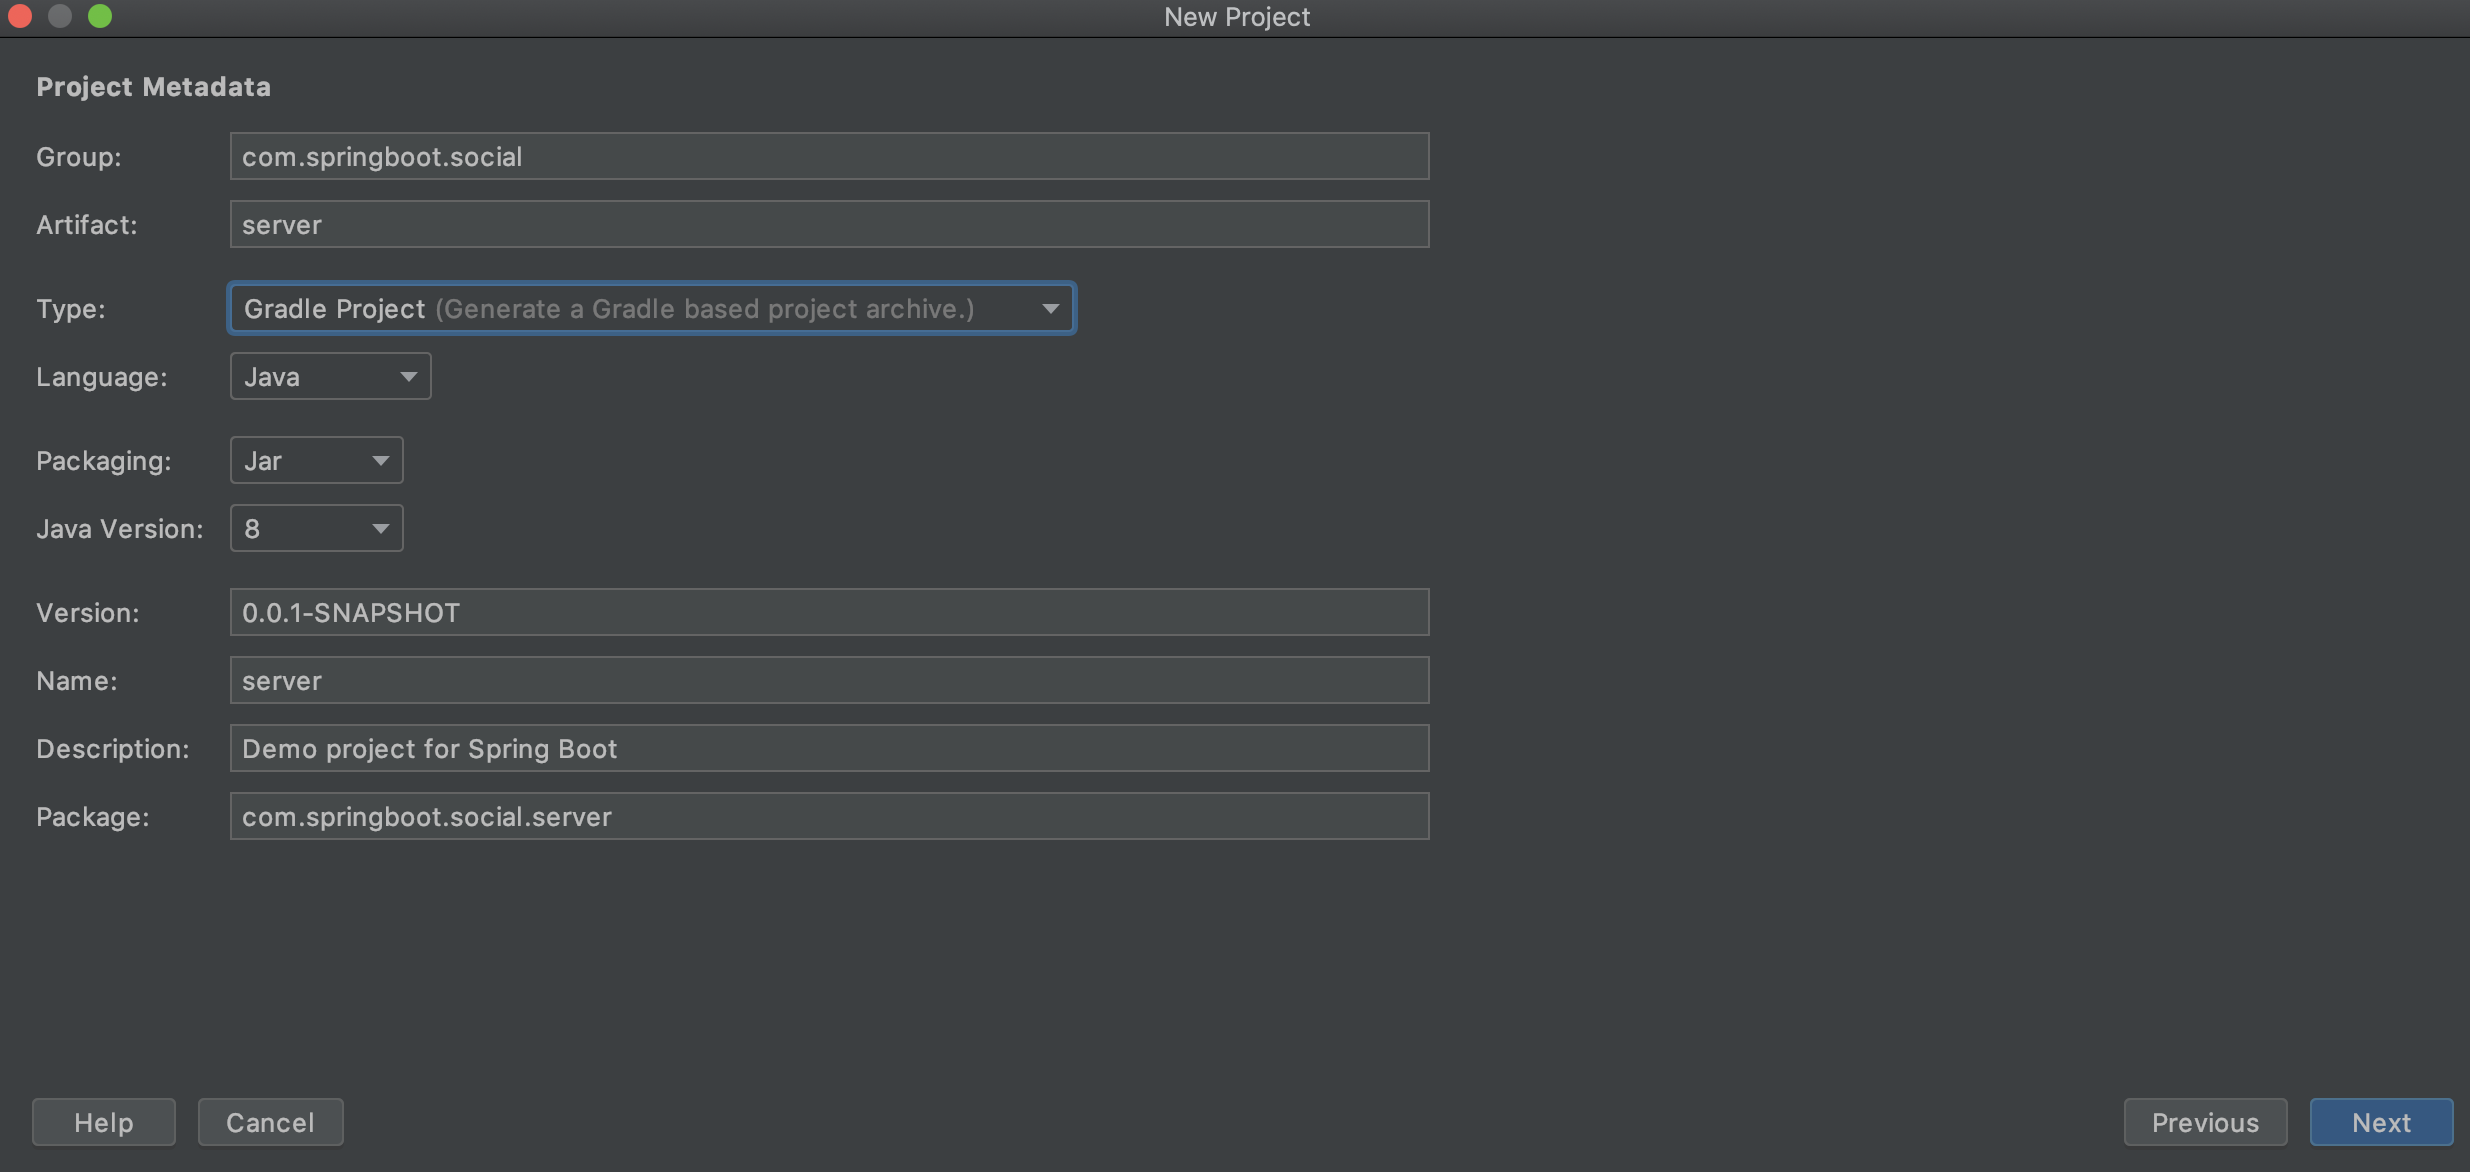
라이브러리는 다음처럼 다운받았다.
dependencies {
    implementation 'org.springframework.boot:spring-boot-starter-data-jpa'
    implementation 'org.springframework.boot:spring-boot-starter-web'
    implementation group: 'org.springframework.security.oauth.boot', name: 'spring-security-oauth2-autoconfigure', version: '2.2.2.RELEASE'
    compileOnly 'org.projectlombok:lombok'
    developmentOnly 'org.springframework.boot:spring-boot-devtools'
    runtimeOnly 'com.h2database:h2'
    annotationProcessor 'org.projectlombok:lombok'
    testImplementation('org.springframework.boot:spring-boot-starter-test') {
        exclude group: 'org.junit.vintage', module: 'junit-vintage-engine'
    }
}
필요한 라이브러리는 모두 다운받았다.
AuthenticationProvider
AuthenticationProvider 를 만들자.
이 클래스가 할 일은, 사용자 정보를 조회하고, Security Context 에 등록 할 Authentication 객체를 만드는 일이다. 먼저 토큰을 생성 할 인증서버를 만들자.
AuthenticationProvider.java
@Slf4j
@Component
public class UserDetailsServiceProvider implements AuthenticationProvider {

    @Override
    public Authentication authenticate(Authentication authentication) throws AuthenticationException {

        // ..TODO DB 처리
        UsernamePasswordAuthenticationToken token = new UsernamePasswordAuthenticationToken(
                authentication.getName(),
                null,
                AuthorityUtils.createAuthorityList("BASIC_UESR")
        );

        return token;
    }

    @Override
    public boolean supports(Class<?> authentication) {
        return authentication.equals(UsernamePasswordAuthenticationToken.class);
    }
}
일단 들어오는 요청마다, 유저를 생성 할 수 있도록 하였다.
다음으로 WebSecurityConfig 를 만들어, 필요한 부품을 꺼내온다.
@Configuration
@EnableWebSecurity
public class WebSecurityConfig extends WebSecurityConfigurerAdapter {

    @Autowired
    private AuthenticationProvider authenticationProvider;

    @Override
    protected void configure(AuthenticationManagerBuilder auth) throws Exception {
        auth.authenticationProvider(authenticationProvider)
                .inMemoryAuthentication()
                .withUser("user").password(passwordEncoder().encode("1234")).authorities("BASIC_USER");
    }

    @Override
    public void configure(WebSecurity web) throws Exception {
        super.configure(web);
    }

    @Bean
    @Override
    public AuthenticationManager authenticationManagerBean() throws Exception {
        return super.authenticationManagerBean();
    }

    /**
     * @see <a href="https://oddpoet.net/blog/2017/04/27/cors-with-spring-security/">
     * https://oddpoet.net/blog/2017/04/27/cors-with-spring-security/
     * </a>
     */
    @Bean
    public CorsConfigurationSource corsConfigurationSource() {
        CorsConfiguration configuration = new CorsConfiguration();
        configuration.addAllowedOrigin("*");
        configuration.addAllowedMethod("*");
        configuration.addAllowedHeader("*");
        configuration.setAllowCredentials(true);
        configuration.setMaxAge(3600L);
        UrlBasedCorsConfigurationSource source = new UrlBasedCorsConfigurationSource();
        source.registerCorsConfiguration("/**", configuration);
        return source;
    }

    @Bean
    public PasswordEncoder passwordEncoder() {
        return new BCryptPasswordEncoder();
    }

    @Bean
    @Override
    public UserDetailsService userDetailsServiceBean() throws Exception {
        return super.userDetailsServiceBean();
    }

}
위에서 만든 AuthenticationProvider 를 AuthenticationManagerBuilder 에 주입 해 주고,
PasswordEncoder, AuthenticationManager, UserDetailsService 를 꺼내왔다.
다음으로, 인증서버를 만들어 앤드포인트를 보호하면서 토큰을 생성 할 수 있는 클래스를 만들자.
@Configuration
@EnableAuthorizationServer
public class AuthorizationServerConfig extends AuthorizationServerConfigurerAdapter {

    @Autowired
    private AuthenticationManager authenticationManager;

    @Autowired
    private PasswordEncoder passwordEncoder;

    @Override
    public void configure(AuthorizationServerSecurityConfigurer security) throws Exception {
        super.configure(security);
    }

    @Override
    public void configure(ClientDetailsServiceConfigurer clients) throws Exception {
        clients
                .inMemory()
                .withClient("client")
                .secret(passwordEncoder.encode("secret"))
                .authorities("BASIC_CLIENT")
                .scopes("basic")
                .authorizedGrantTypes("password", "refresh_token");
    }

    @Override
    public void configure(AuthorizationServerEndpointsConfigurer endpoints) throws Exception {
        endpoints
                .tokenServices(authorizationServerTokenServices())
                .authenticationManager(authenticationManager);
    }

    @Bean
    public AuthorizationServerTokenServices authorizationServerTokenServices() {
        DefaultTokenServices services = new DefaultTokenServices();
        services.setTokenStore(tokenStore());
        services.setTokenEnhancer(tokenConverter());
        services.setSupportRefreshToken(true);
        services.setAuthenticationManager(authenticationManager);
        return services;
    }

    @Bean
    public JwtAccessTokenConverter tokenConverter() {
        return new JwtAccessTokenConverter();
    }

    @Bean
    public TokenStore tokenStore() {
        return new JwtTokenStore(tokenConverter());
    }
}
WebSecurityConfig 에서 꺼내온, PasswordEncoder 와 AuthenticationManager 를 주입 해주고,
가상의 메모리 Client 를 client / secret 으로 생성하였다.
이렇게 만든 이유는, 소셜 인증을 요청 할 경우, 해당 애플리케이션에서 들어 온 요청정보가 우리 애플리케이션이 맞다는 검증을 하기 위해 만든것이다.
또, 토큰 타입을 JWT 타입으로 변경하여, 요청에 필요 한 서버 자원을 절약 하도록 하였다.
마지막으로, ResourceServer 를 구현하여, API 앤드포인트를 보호하자.
@Order(-100)
@Configuration
@EnableResourceServer
public class ResourceServerConfig extends ResourceServerConfigurerAdapter {

    @Override
    public void configure(ResourceServerSecurityConfigurer resources) throws Exception {
        super.configure(resources);
    }

    @Override
    public void configure(HttpSecurity http) throws Exception {
        http
                .requestMatchers()
                .mvcMatchers("/oauth/**", "/api/**")
                .and()
                .cors()
                .and()
                .csrf().disable()
                .authorizeRequests()
                .antMatchers("/oauth/**").hasAuthority("BASIC_CLIENT")
                .antMatchers("/api/**").authenticated()
                .and();
    }
}
기본적인 설정을 마쳤으니, 테스트를 하기 위해 컨트롤러 하나를 생성해보자.
AccountController.java
@RestController
public class AccountController {
@Autowired
private TokenEndpoint tokenEndpoint;
@PostMapping(value = "/oauth/token")
public ResponseEntity<OAuth2AccessToken> postAccessToken(
Principal principal,
@RequestParam Map<String, String> parameters
) throws HttpRequestMethodNotSupportedException {
return tokenEndpoint.postAccessToken(principal, parameters);
}
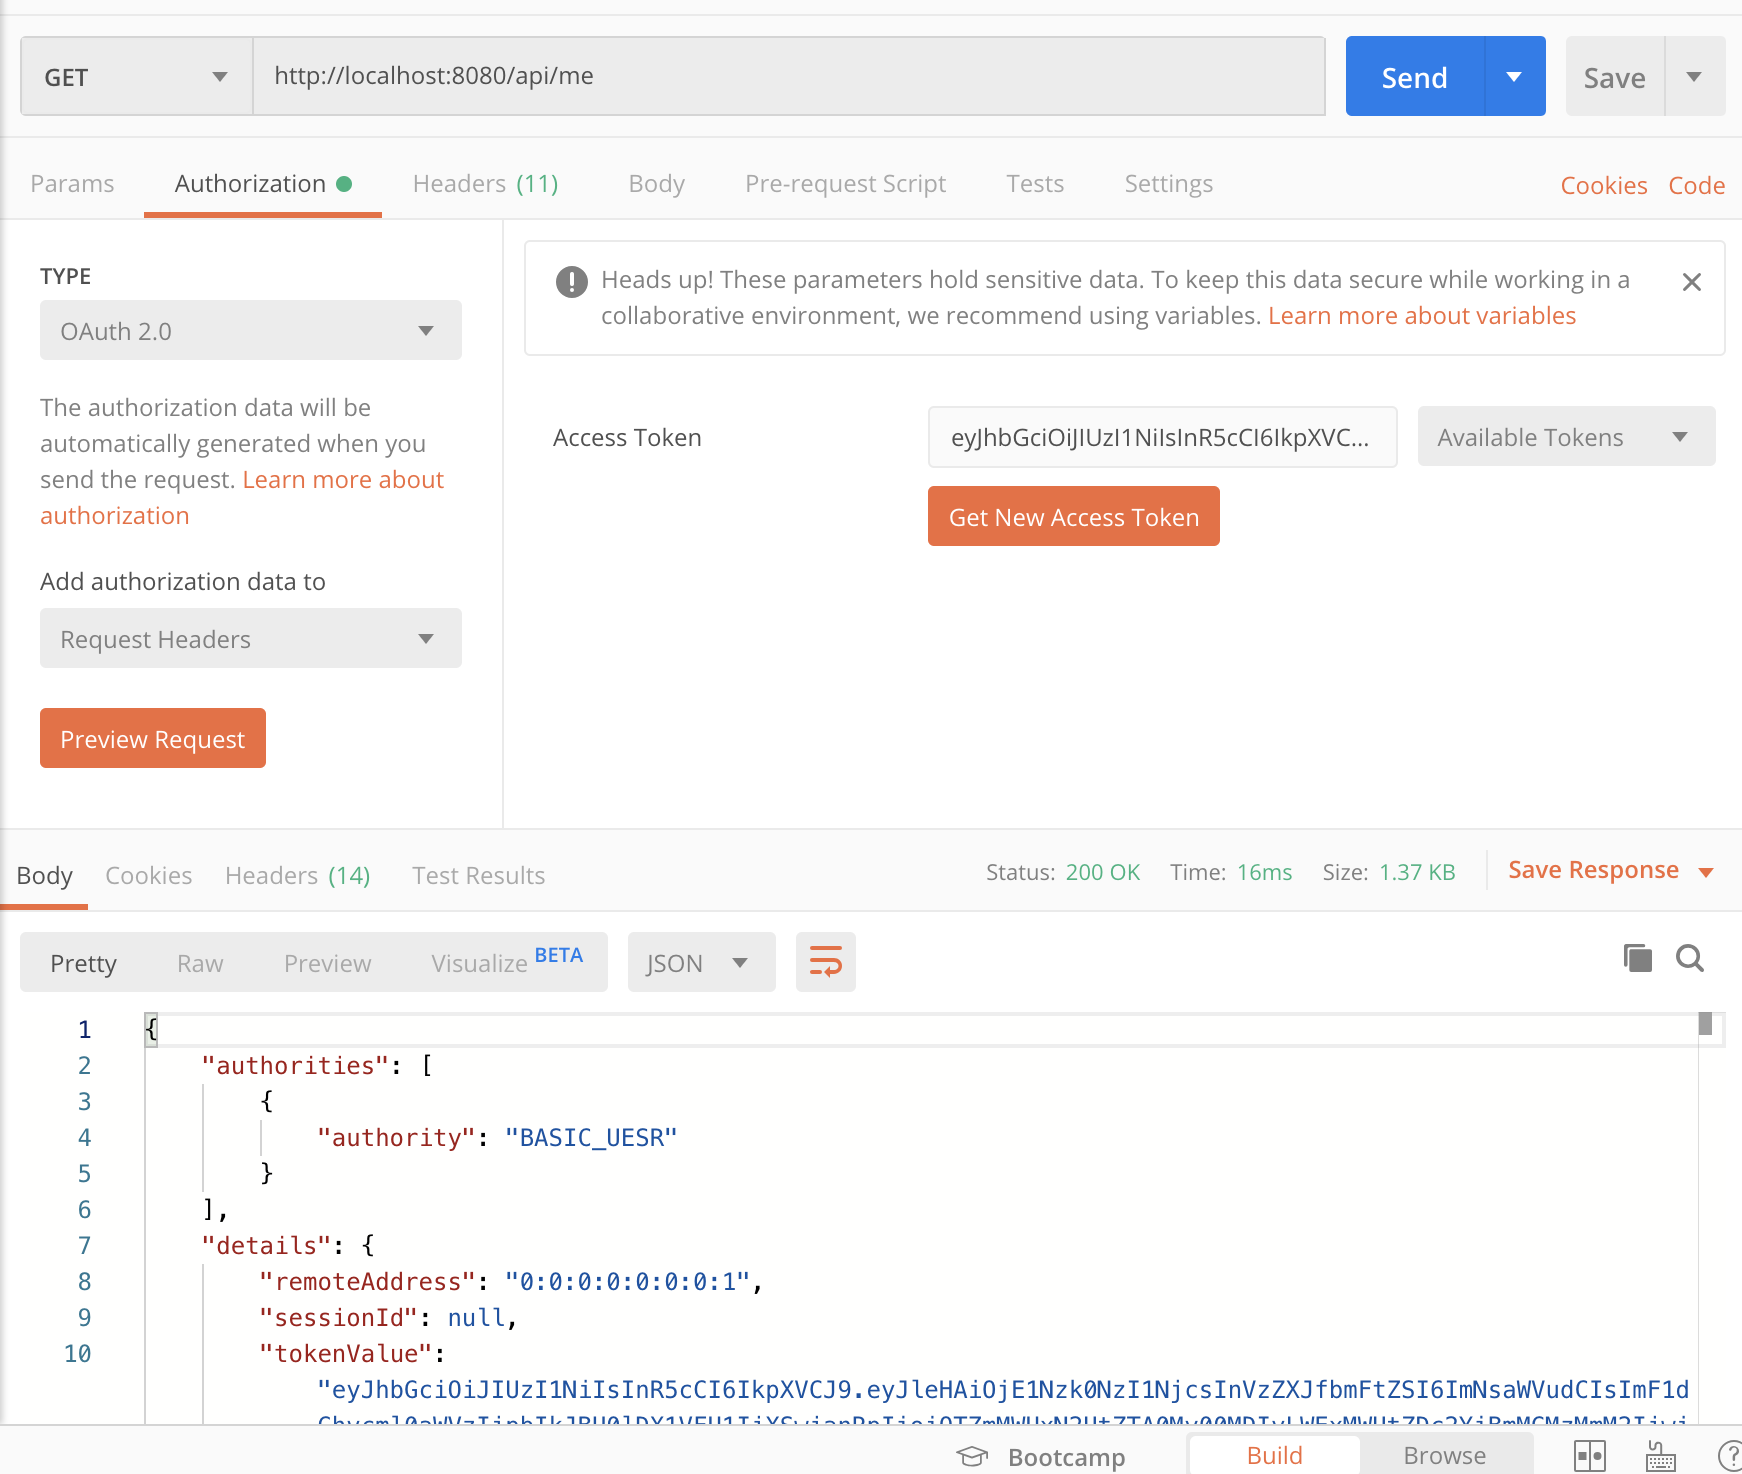
@GetMapping(value = "/api/me")
public ResponseEntity<Object> me(Principal principal) {
return ResponseEntity.ok(principal);
}
}
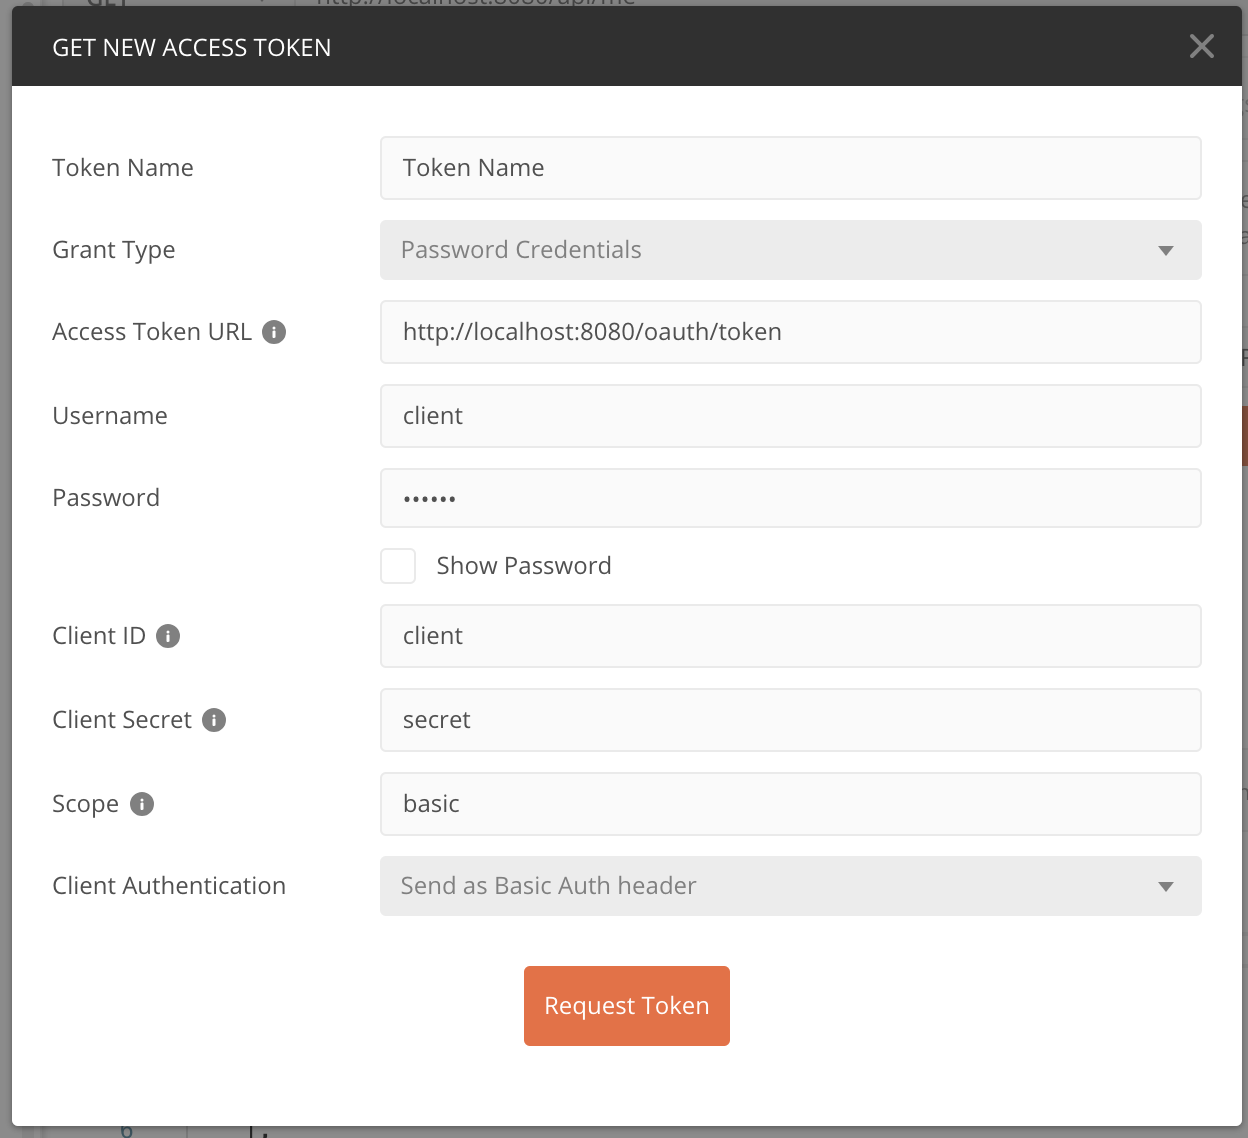
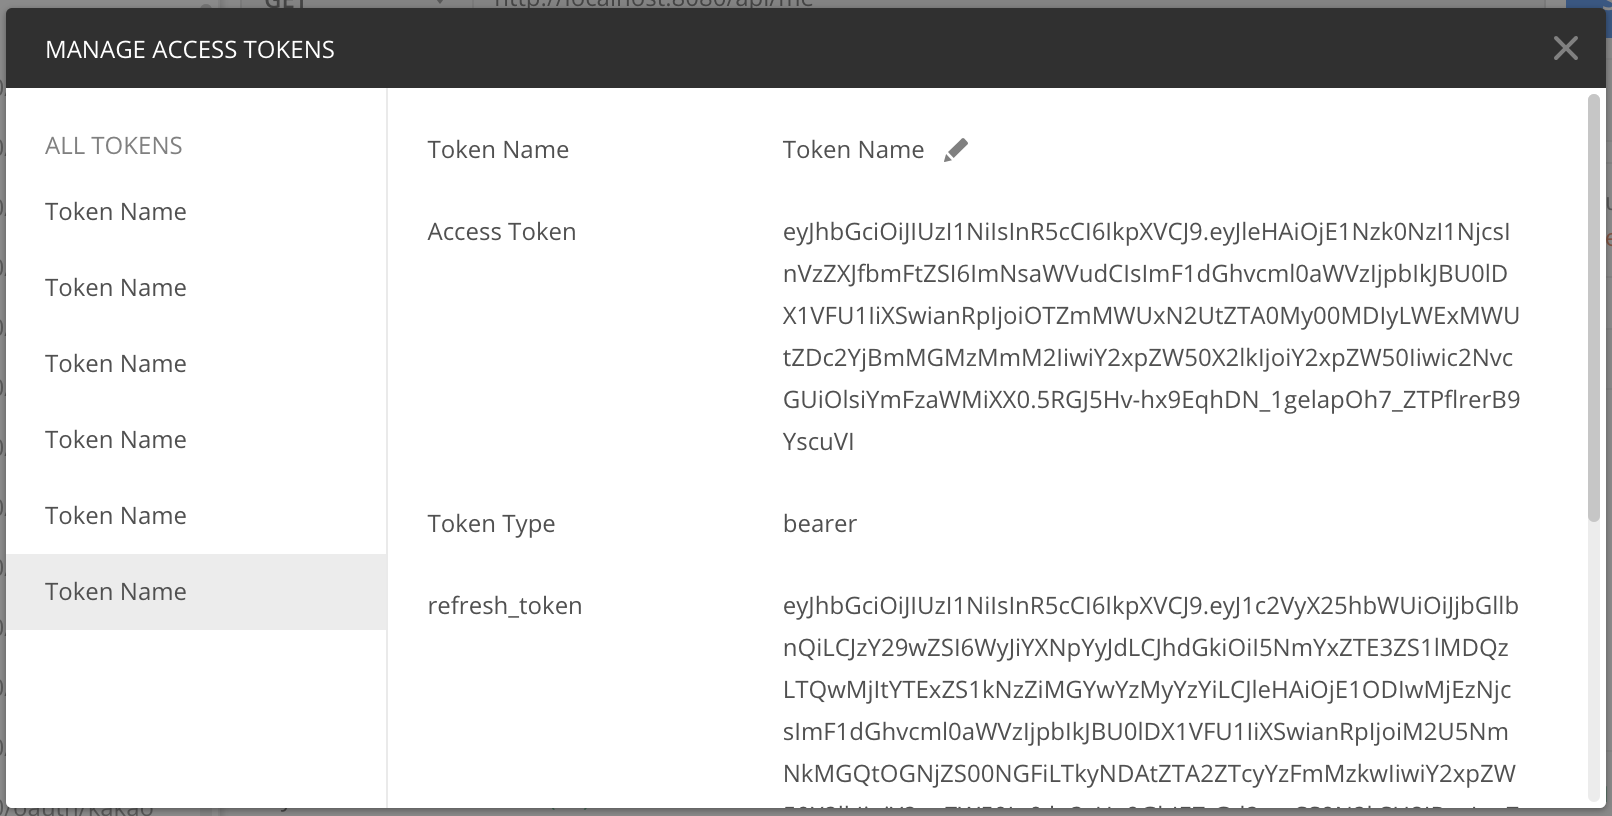
postman 으로 요청 하여, 토큰을 발급하면 준비는 끝났다.
Kakao Client 에서 유저정보 받아오기
위에서는 토큰 발급을 하기 위한, 기본적인 부분을 만들었고, 이제 실제로 유저 정보를 받아서
우리가 만든 인증시스템에 등록 하는 작업을 해보자.
먼저 클라이언트에서 전달 받은, 토큰으로 카카오 유저 정보를 조회 할 수 있는 Rest Client 를 만들자.
@Service
public class KakaoClient {

    private static final String KAKAO_HOST = "https://kapi.kakao.com";

    public ResponseEntity<HashMap<String, Object>> me(String access_token) {
        RestTemplate template = new RestTemplate();

        MultiValueMap<String, String> headers = new HttpHeaders();
        headers.add("Authorization", "Bearer " + access_token);

        HttpEntity<MultiValueMap<String, String>> entity = new HttpEntity<>(headers);

        ParameterizedTypeReference<HashMap<String, Object>> responseType =
                new ParameterizedTypeReference<HashMap<String, Object>>() {};

        return template.exchange(KAKAO_HOST + "/v2/user/me", HttpMethod.GET, entity, responseType);
    }
}
다음으로, AccountController 에서 만든 postToken method 에 파라메터 하나를 추가 하겠다.
@Slf4j
@RestController
public class AccountController {

    // ...other

    @PostMapping(value = "/oauth/token")
    public ResponseEntity<OAuth2AccessToken> postAccessToken(
            // new
            @RequestHeader(name = "x-auth-token", required = false) String xAuthToken,
            @RequestParam Map<String, String> parameters,
            Principal principal
    ) throws HttpRequestMethodNotSupportedException {
        log.info("AccountController");
        // new
        parameters.putIfAbsent("grant_type", "password");
        if (xAuthToken != null) {
            parameters.put("provider_token", xAuthToken);
        }
        return tokenEndpoint.postAccessToken(principal, parameters);
    }

    // ...other

}
oauth2 인증 스펙 제약때문에, 기본 grant_type 을 password 로 설정 하였고,
header 에 x-auth-token 헤더를 추가했다.
이제 돌아가서 SsoAuthenticationProvider 에 인증 로직을 구현하자.
@Slf4j
@Component
public class UserDetailsServiceProvider implements AuthenticationProvider {

    @Autowired
    private KakaoClient kakaoClient;

    @Autowired
    @Qualifier("userDetailsServiceBean")
    private UserDetailsService userDetailsService;

    @Autowired
    private PasswordEncoder passwordEncoder;

    @Override
    public Authentication authenticate(Authentication authentication) throws AuthenticationException {

        HashMap<String, Object> details = (HashMap<String, Object>) authentication.getDetails();

        // provider_token 이 있으면 소셜에서 회원정보를 조회한다.
        if (details.get("provider_token") != null) {
            String sso_user_id = ssoExtractor(details.get("provider_token"));

            if (sso_user_id != null) {
                // ..TODO DB 처리

                return new UsernamePasswordAuthenticationToken(
                        sso_user_id, null, AuthorityUtils.createAuthorityList("BASIC_UESR")
                );
            }
        }

        // 기본인증.
        String user_password = authentication.getCredentials().toString();
        UserDetails userDetails = userDetailsService.loadUserByUsername(authentication.getName());
        if (!passwordEncoder.matches(user_password, userDetails.getPassword())) {
            throw new BadCredentialsException("Password Match Failed");
        }

        return new UsernamePasswordAuthenticationToken(
                userDetails.getUsername(), userDetails.getPassword(), userDetails.getAuthorities()
        );
    }


    @Override
    public boolean supports(Class<?> authentication) {
        return authentication.equals(UsernamePasswordAuthenticationToken.class);
    }

    private String ssoExtractor(final Object extractorToken) {
        String convert_str = extractorToken.toString();
        String[] xHeader = convert_str.split(" ");
        if (xHeader.length == 2) {
            String access_token = xHeader[1];
            if (xHeader[0].equalsIgnoreCase("kakao")) {
                // 카카오 헤더일 경우, kakao 유저를 검증한다.
                ResponseEntity<HashMap<String, Object>> response = kakaoClient.me(access_token);
                if (response.hasBody()) {
                    assert response.getBody() != null;
                    return response.getBody().get("id").toString();
                }
            }
        }

        return null;
    }
}
Create JS Soical Login Page
이제 소셜 로그인을 할 수 있는 페이지를 만들자.
<!DOCTYPE html>
<html lang="ko">
<head>
    <meta charset="UTF-8">
    <title>Kakao Login Example</title>
    <link rel="stylesheet" href="https://stackpath.bootstrapcdn.com/bootstrap/4.4.1/css/bootstrap.min.css" integrity="sha384-Vkoo8x4CGsO3+Hhxv8T/Q5PaXtkKtu6ug5TOeNV6gBiFeWPGFN9MuhOf23Q9Ifjh" crossorigin="anonymous">
</head>
<body>
<div id="app" class="container p-5">

    <div v-if="loading" class="spinner-grow" role="status">
        <span class="sr-only">Loading...</span>
    </div>
    <div v-if="!loading" class="col-md-4">
        <button class="btn btn-primary" v-if="isLogined === false" @click="kakaoLogin">카카오 로그인</button>
        <div v-if="isLogined === true">
            <img :src="profile_url" alt="profile image" class="rounded-circle rounded-sm" />
            <a href="#" class="btn btn-dark" @click="kakaoLogout">로그아웃</a>
        </div>
    </div>
</div>
<script src="https://cdnjs.cloudflare.com/ajax/libs/vue/2.6.10/vue.min.js"></script>
<script src="//developers.kakao.com/sdk/js/kakao.min.js"></script>
<script src="https://code.jquery.com/jquery-3.4.1.min.js"></script>
<script src="https://cdn.jsdelivr.net/npm/popper.js@1.16.0/dist/umd/popper.min.js" integrity="sha384-Q6E9RHvbIyZFJoft+2mJbHaEWldlvI9IOYy5n3zV9zzTtmI3UksdQRVvoxMfooAo" crossorigin="anonymous"></script>
<script src="https://stackpath.bootstrapcdn.com/bootstrap/4.4.1/js/bootstrap.min.js" integrity="sha384-wfSDF2E50Y2D1uUdj0O3uMBJnjuUD4Ih7YwaYd1iqfktj0Uod8GCExl3Og8ifwB6" crossorigin="anonymous"></script>
<script>
    var KAKAO_JS_ID = '20b1fc00b5c01b361c5e74e78f0908b3';
    Kakao.init(KAKAO_JS_ID);

    new Vue({
        el: "#app",
        data: {
            profile_url: null,
            isLogined: false,
            loading: false
        },
        mounted: function () {
            this.getKakaoLoginStatus();
        },
        methods: {
            getKakaoLoginStatus: function () {
                this.loading = true;
                this.$nextTick(function () {

                    /**
                     * @param {Object} statusObj - 카카오 로그인 상태를 체크
                     * @param {("connected" | "not_connected")} statusObj.status - 현재 로그인 상태
                     * @param {Object} statusObj.user - status 가 connected 일 때, 사용자 정보
                     * @param  statusObj.user.properties - 로그인 후 사용자 정보
                     */
                    Kakao.Auth.getStatusInfo(function (statusObj) {
                        this.loading = false;
                        if (statusObj.status === 'connected') {
                            this.isLogined = true;

                            console.log('Login Connected: ', statusObj);
                            console.log(statusObj);
                            this.profile_url = statusObj.user.properties.profile_image;
                        } else {
                            this.isLogined = false;
                            console.log('Login Not Connected: ', statusObj);
                        }
                    }.bind(this));
                })
            },

            /**
             * 카카오 로그인 팝업창을 띄우고, 로그인 프로세스를 진행한다.
             */
            kakaoLogin: function() {
                Kakao.Auth.login({
                    success: this.kakaoLoginSuccessHandler.bind(this),
                    fail: function (err) {
                        alert(JSON.stringify(err));
                    }
                })
            },
            /**
             * 카카오에 연결된 로그인 세션을 해제한다.
             */
            kakaoLogout: function () {
                console.log('logout');
                this.loading = true;
                this.$nextTick(function () {
                    Kakao.Auth.logout(function (logout) {
                        this.loading = false;
                        if (logout) {
                            this.isLogined = false;
                        }
                    }.bind(this));
                });
            },

            /**
             * 카카오에서 발급받은, access_token 으로 서버에 /oauth/kakao 로 인증요청을 한 후,
             * 서버에서 발급받은 토큰을 로컬스토리지로 저장한다.
             *
             * @param  response - 리소스에 접근 할 수 있는 토큰 오브젝
             */
            kakaoLoginSuccessHandler: function (response) {
                this.isLogined = true;
                console.log('kakaoLoginSuccessHandler(): ', response);
                this.$nextTick(function () {
                    this.getKakaoLoginStatus();
                    $.ajax({
                        url: "http://localhost:8080/oauth/token",
                        method: "post",
                        contentType: "application/x-www-form-urlencoded",
                        headers: {
                            'authorization': 'Basic Y2xpZW50OnNlY3JldA==',
                            'x-auth-token': 'Kakao ' + response.access_token
                        },
                        success: function (response) {
                            console.log(response);
                            localStorage.setItem("app_user", JSON.stringify(response));
                        },
                        error: function (err) {
                            alert(JSON.stringify(err));
                        }
                    })
                });
            },
        }
    });
</script>
</body>
</html>
간략하게 설명하자면,
kakao에서 access_token 발급 -> 서버로 엑세스 토큰 전송 -> 서버에서 발급받은 access_token 을 로컬스토리지로 저장 순이다.
이제 카카오 로그인 후, localStorage 에 서버에서 받아 온, 사용자 정보가 들어있으면
성공이다.

source: https://github.com/ziponia/spring-boot-oauth2-server-with-social